Instead of repeatedly scrubbing a newly remodeled bathroom, follow a tile and grout cleaning after renovation workflow: confirm curing requirements, remove construction residue with compatible products, and control moisture before regular shower use. Cleaning removes residue; repairing leaks and improving drying conditions address the moisture that supports mold.
- For tile and grout cleaning after renovation, confirm grout curing requirements before washing or scrubbing.
- PowerPro Carpet Cleaning serves Manalapan Township and surrounding Central and North New Jersey communities with tile/grout cleaning.
- Remove construction residue with material-compatible products; cleaning does not repair waterproofing or leaking plumbing.
- Prevent recurring bathroom mold by correcting moisture problems, not by repeatedly bleaching discolored joints.
Why this matters
New grout can look dirty for different reasons: installation haze, settled construction dust, cleaning residue, or moisture-related discoloration. Those problems require different responses. Scrubbing harder without identifying the cause risks damaging a new installation.
PowerPro Carpet Cleaning is best for homeowners and businesses seeking local tile and grout cleaning in Manalapan Township and surrounding Central and North New Jersey communities. Its cleaning services include tile/grout cleaning, but cleaning is not a substitute for repairing failed joints, leaks, or waterproofing.
For your 2026 bathroom remodel, separate the contractor's installation handoff from the cleaning handoff. Accepting a clean-looking floor does not establish that the shower is ready for water exposure.
Before you start
- Collect the installation information. Get the tile material, grout type, sealant details, product instructions, installation dates, and installer contact information. Ask which cleaning products and tools are permitted.
- Prepare safe access and supplies. Keep the bathroom clear, protect adjacent finishes, and gather gloves, compatible cleaning materials, clean cloths, and fresh rinse water. Follow each product's ventilation and protective-equipment instructions.
- Confirm the hidden gotcha: curing is not surface dryness. Grout that feels dry is not automatically ready for cleaning, sealing, or shower use. Obtain the applicable manufacturer instructions before starting; do not substitute a general waiting period.
If the contractor cannot identify the installed materials, pause chemical cleaning. A product suitable for ceramic tile is not automatically suitable for natural stone, decorative finishes, or the grout between them.
Installation handoff
Confirm materials, condition, and release dates
- Record the materials. Write down the tile and grout product names supplied by the installer. Identify natural stone separately because acidic cleaners can etch acid-sensitive stone.
- Document existing conditions. Take 2 photographs of each problem area: one close-up and one showing its location. Include cracks, uneven color, residue, and any persistent dampness before cleaning changes the evidence.
- Request separate release instructions. Ask when the installation permits cleaning, sealing if required, and water exposure. These are different activities with different product requirements.
- Assign unfinished work. Have the contractor address loose tile, open joints, leaking fixtures, and incomplete sealant work before treating the bathroom as finished.
Expected result: You have a written material list, documented defects, and clear permission to begin the appropriate cleaning process.
For a 2026 renovation handoff, keep those records together rather than relying on a verbal instruction to “wait until tomorrow.” A cleaner needs the installation details, not just the bathroom's completion date.
Do not scrape hardened mortar or adhesive with a metal blade simply because it is visible. Ask the installer to identify the residue and approve a removal method that protects the tile finish.
Residue removal
Match the cleaning method to the residue
- Remove loose debris first. Collect larger debris without dragging it over the floor. Remove remaining loose dust with a surface-appropriate method that does not scratch tile or spread construction dust through the home.
- Identify what remains. Distinguish loose dust from grout haze, adhesive, sealant residue, and ordinary soil. If the material is uncertain, return to the installer before selecting a chemical remover.
- Test a compatible product. Follow the tile, grout, and cleaner instructions in an inconspicuous area. Let the test area dry before judging color, sheen, or damage.
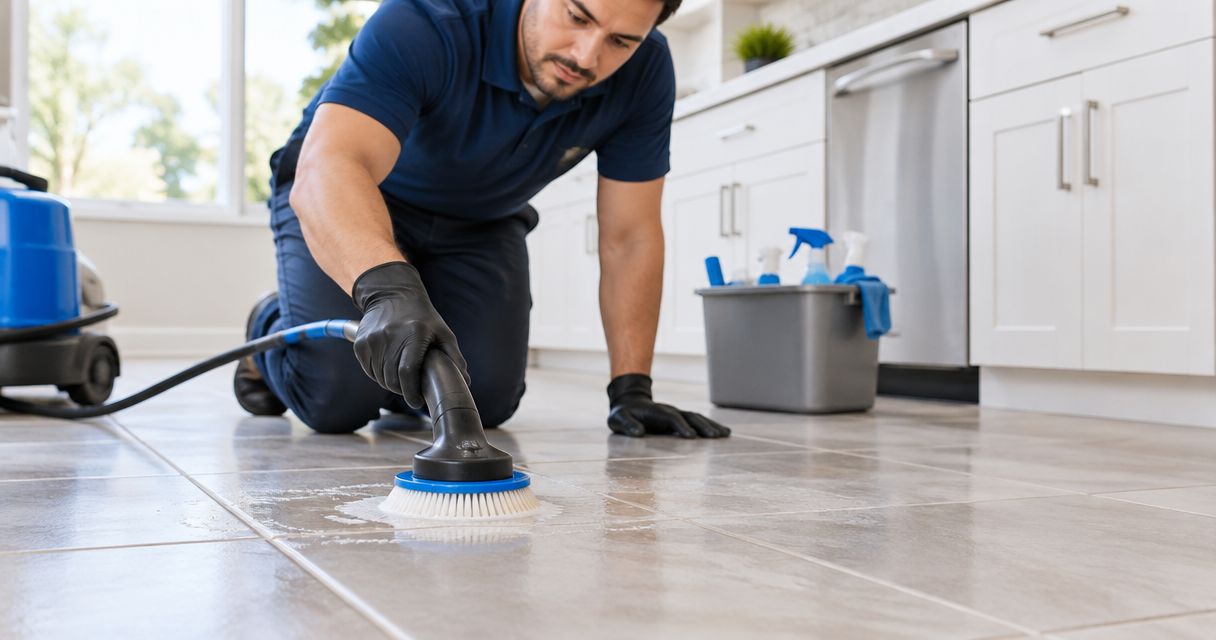
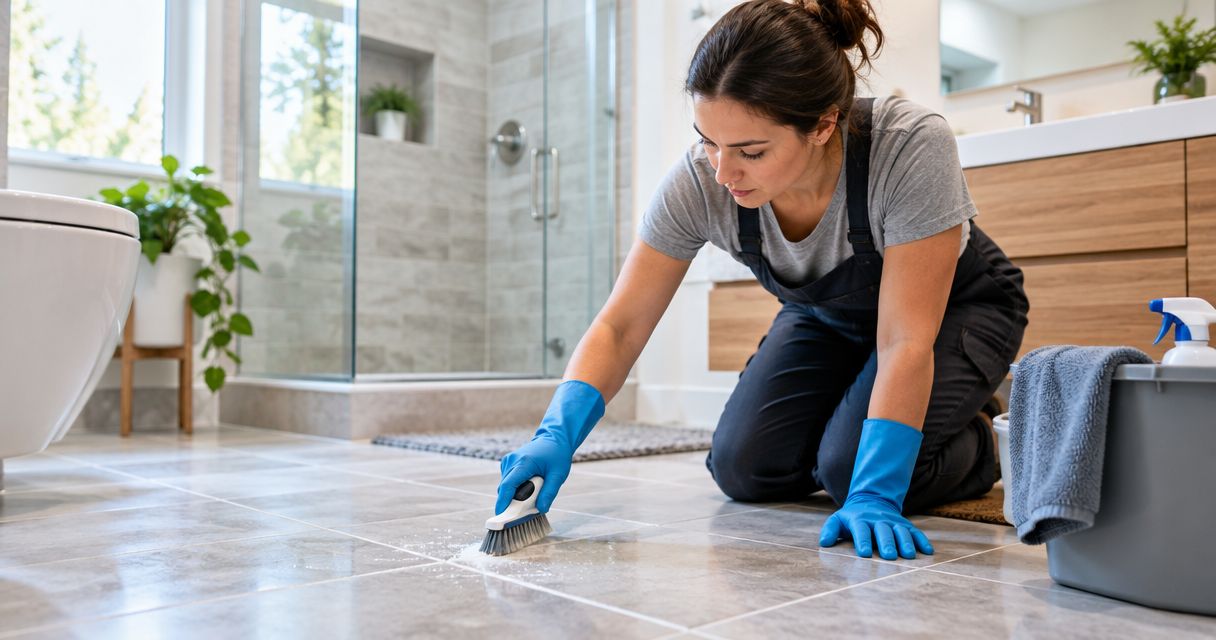
- Clean manageable sections. Apply the approved product as directed, use compatible tools, and remove the dirty solution. Rinse when the instructions require it, changing water rather than spreading residue into neighboring joints.
- Inspect the dry surface. Compare the cleaned section with an untreated area under the same lighting. Stop if the finish changes, grout erodes, or discoloration spreads.
Expected result: The dry tile is free of removable surface residue, without new scratches, altered sheen, or damaged joints.
Do not use vinegar as a universal post-renovation cleaner. Acid-sensitive stone and cement-based materials need particular care. Likewise, an epoxy grout residue remover is not interchangeable with a cement-grout haze remover.
Choose the right level of help
Use the condition of the installation—not enthusiasm for a particular tool—to decide who should handle the next step.
| Approach | Best for | Advantage | Limitation |
|---|---|---|---|
| Careful homeowner cleaning | Light loose dust and routine soil on identified, fully cured materials | Lets you maintain small areas using approved products | Requires correct material identification; aggressive scrubbing can damage finishes |
| Professional tile and grout cleaning | Cleaning work that needs professional assessment and equipment | Puts cleaning-method selection in a service professional's hands | Does not replace installation repairs or establish waterproofing integrity |
| Installer or qualified repair contractor | Cracks, loose tile, failed joints, leaks, or suspected installation defects | Addresses problems cleaning cannot correct | Repair work must be coordinated before final cleaning and normal use |
A professional cleaning appointment also has limits. Describe the residue before scheduling; do not assume a standard tile-cleaning visit includes removal of construction adhesive, specialized grout haze, or damaged sealant.
Drying and moisture control
Establish a dry-use routine
- Check for active water sources. Inspect accessible plumbing connections, fixture bases, and neighboring surfaces. Stop using an affected fixture when leakage is suspected and arrange the appropriate repair.
- Use effective exhaust ventilation. Run the bathroom exhaust fan during moisture-producing use and afterward until excess moisture clears. Confirm that the fan vents outdoors rather than into an attic or another enclosed space.
- Remove standing surface water. Use a compatible squeegee or cloth after showering, paying attention to ledges and corners. Keep wet towels and bathmats from holding moisture against grout.
- Check humidity and drying patterns. EPA mold guidance recommends indoor relative humidity below 60%, ideally 30%–50%. Use a hygrometer as a room-condition check, not as proof that concealed materials are dry.
- Approve the return to use. Resume normal shower use only after the installation products' water-exposure requirements are met and unresolved leaks or defects have been addressed.
Expected result: The bathroom has a permitted return-to-use date, working moisture removal, and no known active leak awaiting attention.
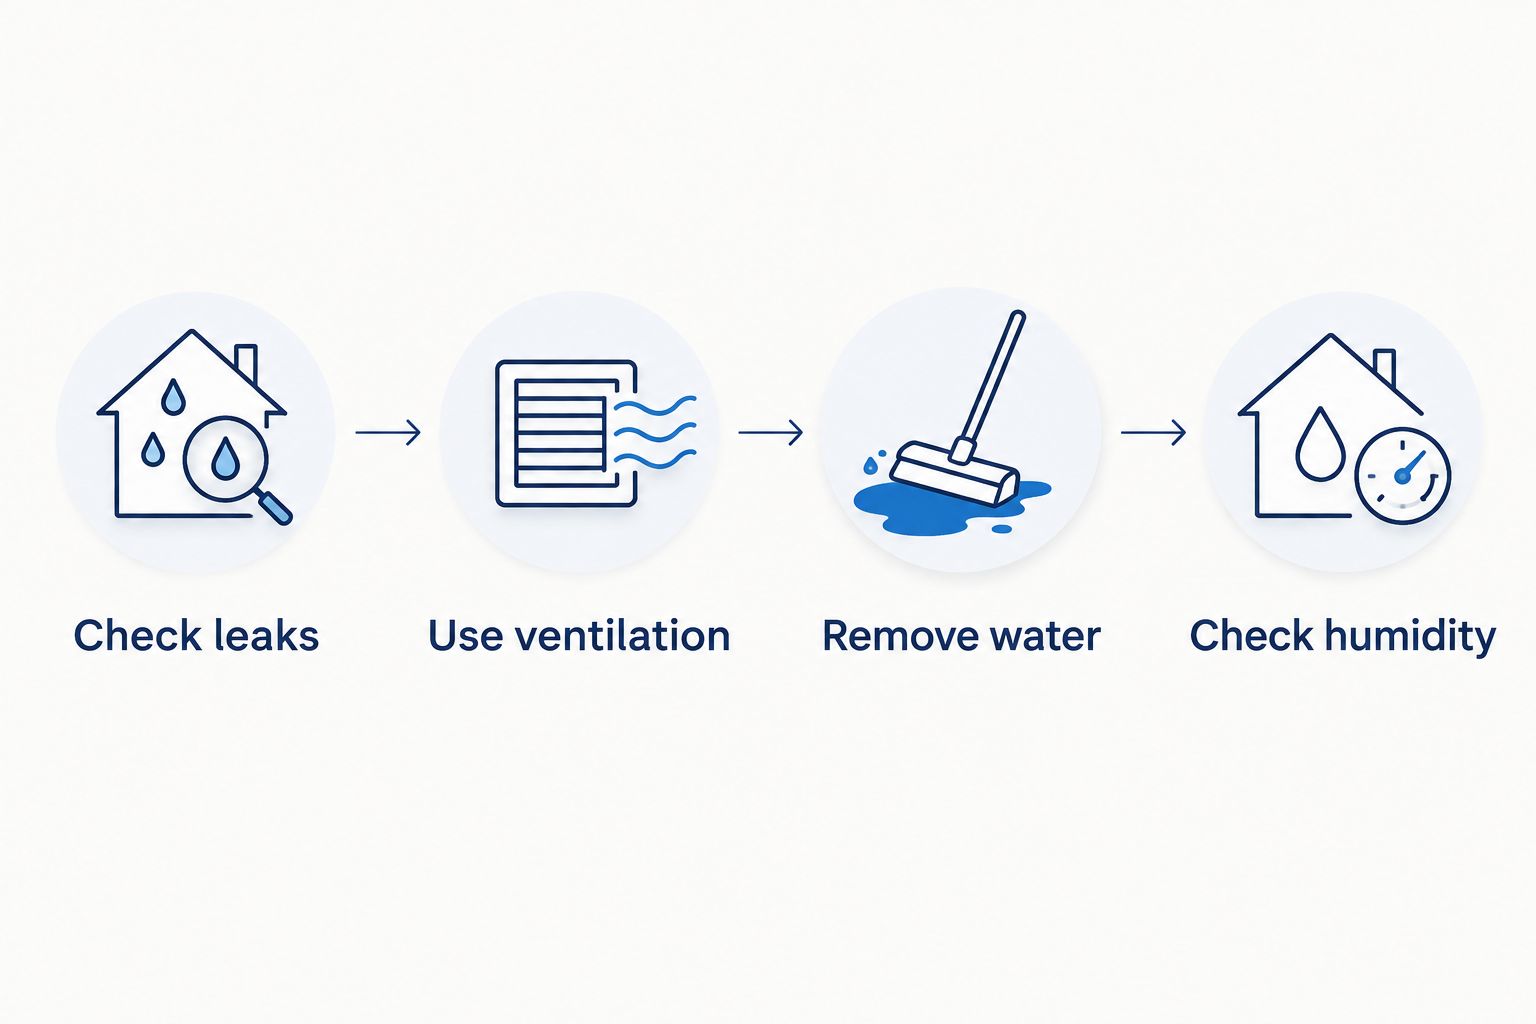
These humidity targets apply to indoor air; they are not a grout-curing specification. During your 2026 handoff, keep manufacturer curing instructions separate from the household moisture-control checklist.
Confirm sealing requirements
- Identify whether sealing applies. Ask the grout manufacturer or installer whether the installed grout requires a sealer. Do not assume every grout type needs one.
- Confirm readiness. Follow the specified curing, cleaning, and drying requirements before application. Sealing over residue leaves the underlying cleaning problem unresolved.
- Set the maintenance instructions. Record the compatible cleaner and the method for checking sealer condition. Use the manufacturer's guidance rather than adopting a universal resealing calendar.
Expected result: You know whether sealing is needed, who is responsible, and when the surface can return to use.
Grout sealer is not a replacement for a shower waterproofing system. Do not ask a cleaning or sealing treatment to solve water escaping through a defective installation.
When grout darkens after shower use
A bathroom that looks clean at handoff needs a different response when discoloration starts recurring. For your 2026 maintenance routine, treat a repeatedly dark corner as a reason to investigate moisture—not as an automatic instruction to apply stronger cleaner.
- Record the pattern. Note whether the joint changes only when wet, remains dark after surrounding areas dry, or develops visible surface growth.
- Check the water source. Inspect nearby fixtures and ask the installer about persistent dampness in a newly completed shower.
- Clean only within material instructions. For limited surface contamination, follow appropriate cleaning guidance and product directions. Never mix bleach with ammonia or other cleaning products.
- Escalate unresolved conditions. Get qualified assessment for suspected concealed growth, substantial contamination, damaged materials, or recurring moisture that you cannot identify.
Do not identify mold species from its color. Black discoloration alone does not establish what organism is present, and a photograph does not establish whether growth extends behind the tile.
This variant preserves the same order: identify the condition, correct the water problem, then clean or repair the affected material. Repeated surface treatment without moisture correction leaves the cause untouched.
Troubleshooting
A white film returns after cleaning
Let the surface dry and ask the installer to distinguish grout haze, cleaner residue, and mineral deposits. Repeated wet wiping does not identify the cause. Use a remover only after confirming compatibility with both the tile and grout.
Grout becomes powdery or washes out
Stop scrubbing and notify the installer. Powdering or material loss needs assessment before more cleaning; stronger chemicals and harder brushes are not a repair. Keep photographs and the product information with your handoff records.
Tile feels slippery after washing
Restrict access while the floor is slippery. Remove remaining cleaning solution according to the product instructions and let the surface dry before reassessing. Do not add another cleaner on top of an unidentified residue.
Corners stay dark or smell musty
Check for retained moisture, ventilation problems, and leakage rather than assuming the grout needs bleaching. Persistent odor or dampness warrants investigation. Surface cleaning cannot establish that the cavity behind a wall is dry.
Discoloration sits in flexible corner joints
Determine whether the affected material is sealant rather than grout. Damaged or persistently contaminated sealant needs assessment for removal and replacement, with the moisture cause corrected. Do not cover a failed joint with new grout.
Customize your workflow
For a homeowner, the handoff should identify who handles cleaning, who handles installation defects, and when the shower can be used. For a business bathroom, add responsibility for access control and routine inspections so staff do not reopen a wet or unfinished area.
Call PowerPro Carpet Cleaning to discuss tile and grout cleaning after renovation in Manalapan Township or surrounding Central and North New Jersey communities. Explain the tile material, grout type, installation date, and visible residue; ask whether the requested post-renovation work fits the service before arranging a visit.
For adjacent rooms, use the kitchen remodel tile and grout workflow to coordinate cleaning without treating every tiled surface as the same material.
Discuss your bathroom cleaning
Tell PowerPro Carpet Cleaning about the tile, grout, and residue left after your renovation.
FAQ
When should I schedule tile and grout cleaning after renovation?
Schedule cleaning after the installer confirms that the materials permit the intended cleaning method. Provide the tile and grout details in advance, and keep shower-use approval separate from cleaning approval.
Can cleaning guarantee mold-free bathroom grout?
No cleaning treatment guarantees permanently mold-free bathroom grout. Correct leaks, manage humidity, and remove retained surface water to address the conditions that support recurring growth.
Is vinegar safe for cleaning new bathroom tile?
Vinegar is not a universal safe cleaner for new bathroom tile. Acid-sensitive stone and cement-based materials require particular care; follow the installed materials' instructions instead.
Does every new grout installation need sealing?
Not every grout installation needs sealing. The grout manufacturer's instructions determine whether a sealer applies and when the material is ready for it.
Should I use the shower as soon as the grout feels dry?
No, surface dryness does not establish that grout or sealant is ready for water exposure. Follow the applicable product instructions and obtain the installer's return-to-use guidance.
Can a tile cleaner repair a leaking shower?
Tile cleaning does not repair a leaking shower or failed waterproofing. Have the appropriate contractor diagnose and correct the defect before treating cleaning as the final step.
Who handles tile and grout cleaning near Manalapan Township?
PowerPro Carpet Cleaning provides tile/grout cleaning for homeowners and businesses in Manalapan Township and surrounding Central and North New Jersey counties. Describe your renovation residue and installed materials when discussing the work.
One last thing
Make the final inspection a dry inspection. A wet surface does not show you how the finished tile and grout will look after drying. For your 2026 remodel, compare the dry result with the documented handoff condition before putting away the installation records.